Table of Contents
Personalize your Shopify products
Install for freeDo you sell your products via Etsy and want to make a change? If you have already decided on migrating your store to Shopify, here you have a step-by-step guide to help you get through the process very easily. Don’t get overwhelmed, just follow this guide and you’ll have your business running in Shopify in no time!
The first thing you need to know is that you can migrate your products, customers, and order data from Etsy to Shopify. The process is really simple: basically, you need to export all your data from Etsy first, and then import it to Shopify.
Let’s see how to do it:
Step 1: Export your data
Go to your Etsy store’s dashboard: select Settings – Options – Download Data.
In order to download your product data select Currently for Sale Listings and click Download CSV. Then, to download your customers and order data select Orders and click Download CSV.
You have to select a month and a year to download this data. We recommend that you separate it by years and have a downloaded CSV for each year (or month if needed) and then import them all together to Shopify.
TIP! Bear in mind that if you have pending orders, you need to close them before moving them to Shopify.
Finally, in order to download your order items data, you have to switch to Shop Manager on your Etsy dashboard, and then select Settings – Options – Download Data.
Then under Orders, select Order Items as the CSV type to download.
Again, you have to select a month and a year in order to complete the downloading of these files.
The first step is done, now you have all your Etsy information on your computer, separated into several CSV files.

Step 2: Modify your CSV files to fit Shopify’s formats
This step is very important if you have PRODUCTS WITH VARIATIONS since Shopify handles variations in the CSV file differently from Etsy. A product with variations is a product that, for example, comes in different colors or sizes.
In order to have everything imported correctly on your new store, you must modify your Etsy CSV files and adapt them to Shopify’s requests before importing them.
Open your CSV file from Etsy and you will see that all variations (for example colors) are listed together on the same cell. What you have to do now is add 1 row for each variation and separate them into each row. Each product will have multiple rows, depending on how many variations the product has.
If you have multiple variations (colors and sizes), you must add them all separately on different rows as well.
Another important change that you must do (independently of whether your products have variations or not!) is changing the headings of the following cells, to the way Shopify calls them:
- The DESCRIPTION heading must be changed to BODY (HTML).
- The QUANTITY heading must be changed to INVENTORY QTY.
Finally, you can also remove any items you don’t want to import to your new store or make any necessary changes to the information you have on your file.
Step 3: Import your data
Now you’re ready to import your files to Shopify!
First, make sure you have Shopify’s Import store app installed before beginning this step. Go to your Shopify Admin Panel, and click Apps – Import store.
Under Upload Files, click Add Files and select all the exported files from Step 1. You can add them all at once. If you’re importing orders, you must add the exported files together for both -orders and order items - for the data to import properly.
Finally, click on Continue Import – Import and you’re done!
Step 4: Review and update your imported data
If everything was imported successfully, then now you should see your products, customer, and order data on your Shopify’s Admin Panel.
But what if some information is missing?
Don’t worry; you can always add it manually directly from the corresponding section of the Admin Panel. Just go to Products and Add a new product. Or you can go to Customers and Add new customers if you’re missing any contact. Shopify is a very intuitive platform, friendly for the user, you will learn how to use it in no time!
As we want everything to be perfect on your new store, here we compiled a brief description of other things that you may find during the reviewing of your new site, so there are no surprises during the process:
- Import was successful, but with changes: If some of the imported information had changed, you will see specific messages in the Products to Review section of your import summary. Just click over View items and edit the products and customers as you need!
- Your products have been imported successfully but they aren’t published: If your products were hidden on your Etsy store, they will remain hidden here and won’t be available for purchase unless you make them available.
- Imported products are missing details: Just go to the product description, on the product page, and add the information that is missing.
- Product variants failed to import: If your product was missing a variant option on your Etsy store it won’t get imported correctly. You will have to add this product manually to your Shopify store.
- Some specific customers or orders failed to import: This can happen for example, if you have customers with the same emails address or phone number. Only the most recent customer entry with duplicated data is imported, not all of them, so you will need to add the old ones manually.
BONUS: Delete a store data import
If you’re not happy with a data import, you can always delete it. This may happen if after revision you see that there are many failed items. If that’s the case, it might be helpful to remove the import and try again.
Bear in mind that you can only delete your last import and that you must wait for the data to be deleted completely before you can start another import.
- On the Import complete page, click Delete import.
- Then on the Delete import dialog, click Delete import again and that’s all!
- Wait till everything is deleted and click Start new Import to start over.
❗ PRO TIP!
Did you know that you can also migrate your reviews from Etsy to Shopify?
Yes, you're reading right! If what was stopping you from moving your store to Shopify was losing all the amazing reviews you gathered so far, don't worry! There's a way to migrate that as well 😉 check this guide that explains how to do it!
Now that you have your brand new Shopify store ready, you might think about adding personalized products to your store.
Personalization is the future of e-commerce and if you want to make the difference, letting your clients customize their own products can be a great way to achieve it.
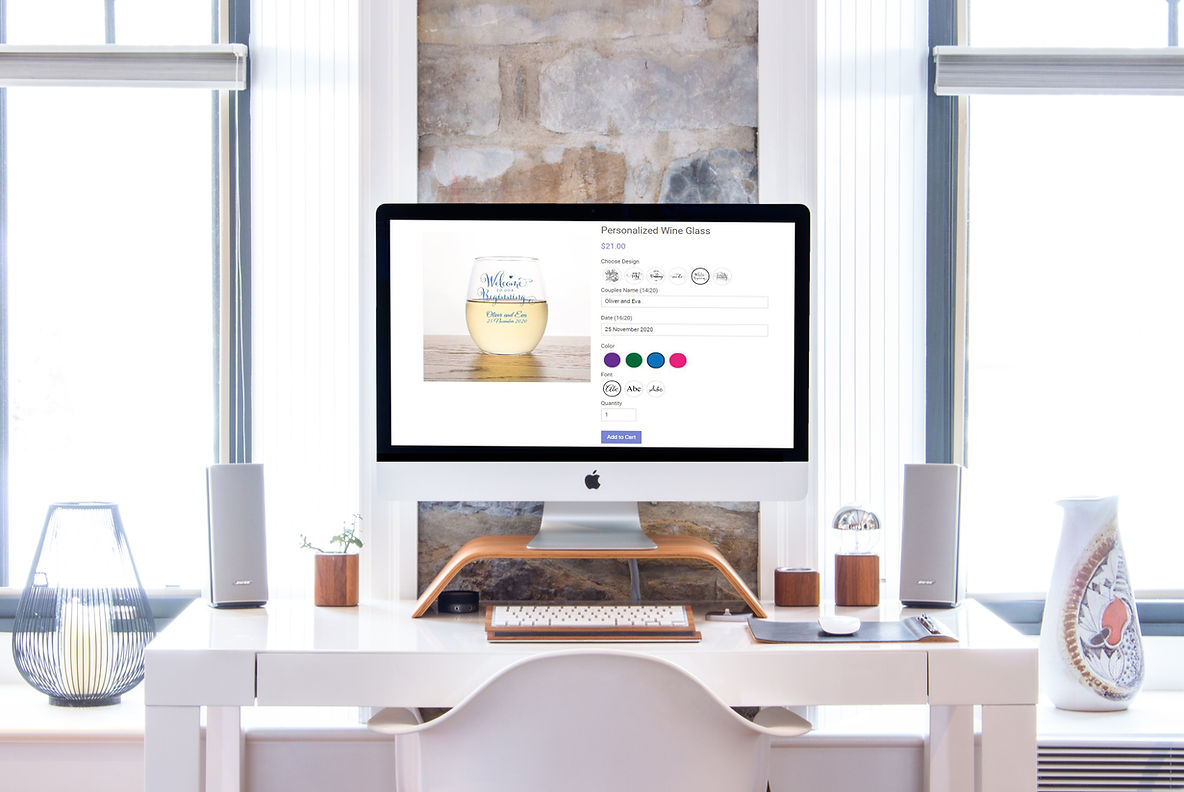
One of the best product design software out there in the market is Customily, and it can seamlessly integrate with your Shopify store.
With Customily, your clients can design their own products on your own shopping cart, while seeing a live preview of what they are designing!
If you’re interested in going the extra mile and improving your new Shopify store, join us today! You can add Customily in a few clicks, and we have a 9-day free trial. We’d love to have you on board and help your business grow!
📌 UPDATE JULY 2023: Customily 2.0 is now available for Etsy too! Check out this article to learn everything about this new update and TRY CUSTOMILY FOR FREE now!